Creating a Pampas Grass Bouquet for Any Event
Key Takeaways
- Pampas grass is versatile and adds a unique touch to any bouquet.
- Crafting your bouquet allows for personalization and creativity.
- Choosing the right colors and textures is crucial for visual appeal.
- Understanding maintenance can extend the lifespan of your arrangement.
- Explore different styles and arrangements to suit various occasions.
Pampas grass bouquets are a beautiful way to bring a touch of elegance and natural beauty to any event. Whether you are planning a wedding, throwing a party, or simply looking to enhance your home decor, a pampas grass bouquet can be tailored to reflect your personal style. In this guide, we will dive into the step-by-step process of designing stunning bouquets utilizing pampas grass.
Why Choose Pampas Grass?
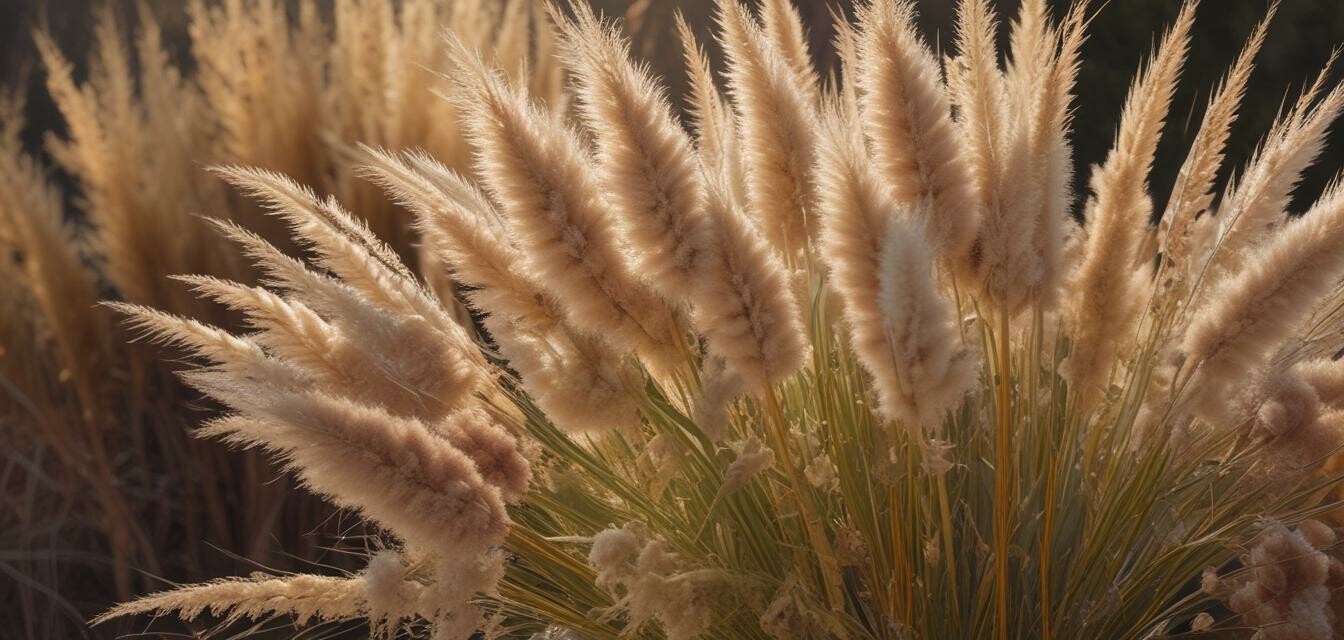
Pampas grass is a popular choice for bouquet-making because of its soft, feathery texture and natural aesthetic. Here are several advantages of incorporating pampas grass into your designs:
- Durability: Pampas grass can last for years when properly cared for, making it an excellent investment.
- Versatility: It can suit different styles, from boho to rustic themes.
- Color Options: Pampas grass is available in various colors, allowing for endless customization.
Materials Needed
Creating a pampas grass bouquet requires a few essential materials:
- Pampas grass stems (varied lengths and colors)
- Other dried flowers (e.g., eucalyptus, lavender)
- Flower tape or wire
- Floral foam (optional)
- A decorative vase or holder
- Scissors or shears
Step-by-Step Guide to Creating Your Bouquet
Step 1: Gather Your Materials
Collect all the materials listed above. Choose a decorative vase or holder that complements your style.
Step 2: Select and Prepare Your Pampas Grass
Select several pampas grass stems in different lengths and colors to create depth. Trim the stems at an angle for better absorption if using floral foam.
Step 3: Arrange the Pampas Grass
Start placing the pampas grass into the vase. Consider the following arrangement techniques:
- Symmetrical: Place stems evenly around the vase for a balanced look.
- Asymmetrical: Create a modern feel by varying the heights and placement of the grass.
- Clustered: Group similar colors together for a more cohesive appearance.
Step 4: Add Dried Flowers
Incorporate dried flowers to complement the pampas grass. Some popular options include:
- Eucalyptus
- Lavender
- Statice
- Ruscus
Mix and match to create a vibrant color palette.
Step 5: Secure Your Arrangement
Use flower tape or wire to secure your bouquet's shape. Make adjustments as necessary until you achieve the desired look.
Step 6: Finishing Touches
Add any final touches, such as decorative ribbons or greenery. Place your bouquet in a suitable location to enjoy.
Occasions to Use Pampas Grass Bouquets
Pampas grass bouquets are fitting for various occasions, including:
- Weddings
- Birthday parties
- Baby showers
- Home decor enhancements
- Seasonal decorations
Maintaining Your Bouquet
To ensure that your pampas grass bouquet lasts, consider the following maintenance tips:
- Keep it away from direct sunlight.
- Avoid exposure to moisture to prevent wilting.
- Dust gently with a soft cloth periodically.
Inspiration for Your Pampas Grass Bouquets
Looking for more ideas? Check our other DIY projects for incorporating pampas grass into your decor. Explore these options:
- Creative DIY Projects
- Pampas Grass Arrangements
- Colored Pampas Grass
- Pampas Grass Bunches
- Buying Guides for Pampas Grass
Pros
- Beautiful and trendy decor option for events.
- Long-lasting and low maintenance.
- Customizable to fit any color scheme or theme.
Cons
- Can be allergenic to some individuals.
- Requires space for display.
Conclusion
Creating a pampas grass bouquet is a rewarding DIY project that allows for endless creativity and personalization. By following this guide, you can design stunning arrangements that enhance any occasion. Don’t hesitate to explore different styles and materials to truly make it your own.