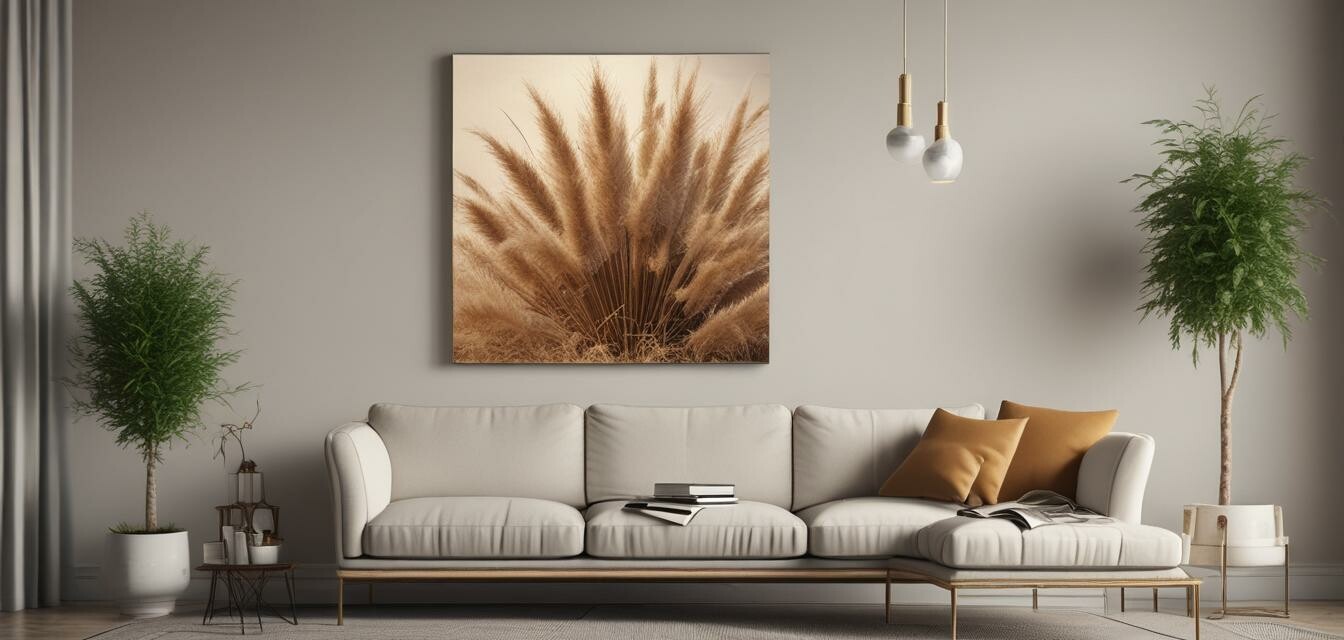
Crafting Pampas Grass Wall Art
Key Takeaways
- Pampas grass creates a stunning natural aesthetic in home decor.
- Crafting wall art with pampas grass is a creative way to personalize your space.
- Various techniques and arrangements can be used to achieve different styles.
- Materials required are easily accessible and affordable.
- Incorporating pampas grass into DIY projects can enhance your decor.
Are you looking to add a personal touch to your home decor? Crafting wall art using natural dried pampas grass is an exciting and creative project that enhances your living space's aesthetic appeal. In this article, we’ll explore different techniques for making stunning pampas grass wall art that can transform any wall in your home.
Why choose pampas grass for wall art?
Pampas grass has become increasingly popular for home decor due to its unique textures and natural hues. It brings a touch of nature indoors, making it not only a beautiful choice for wall art but also a sustainable one. Here are some reasons to consider using pampas grass:
- Natural texture and appearance
- Variety of colors to choose from
- Flexible for different design styles
- Low maintenance and long-lasting
Materials you will need
Before you start crafting your pampas grass wall art, gather the necessary materials. Here is a list to help you out:
- Dried pampas grass
- A canvas or wood board as a base
- Floral wire or glue
- Scissors or wire cutters
- Floral tape (optional)
- Decorative elements like twine, paint, or beads (optional)
Step-by-step guide to creating pampas grass wall art
Follow these steps to create your stunning wall art:
- Prepare your base: Choose a canvas or wood board, and consider painting it or adding texture according to your style preferences.
- Trim the pampas grass: Use scissors or wire cutters to trim the pampas grass to your desired lengths. Mix varying heights for visual interest.
- Arrange your design: Before attaching, arrange the pampas grass on your base to explore different layouts. You may want to incorporate additional decorative elements for added flair.
- Secure the grass: Once satisfied with the arrangement, use floral wire or glue to secure the pampas grass to the base.
- Finishing touches: Add any additional decorative elements to elevate your wall art. Twine or beads can add a rustic charm to your piece.
Different styles and arrangements
Customizing your wall art allows for endless possibilities based on your personal style. Here are a few popular arrangements:
| Style | Description |
|---|---|
| Minimalist | Simple, elegant arrangements with fewer stems. |
| Boho | Loose, wild arrangements with mixed textures and colors. |
| Symmetrical | Balanced layout with equal quantities of stems on either side. |
| Layered | Different heights and overlapping for depth in your piece. |
Where to display your pampas grass wall art
Your newly crafted wall art can enhance the beauty of various spaces. Here are some ideal spots to showcase your creation:
- Living room
- Hallway
- Bedroom
- Home office
- Entryway
Maintaining your pampas grass art
Pampas grass is low maintenance; however, here are some tips to keep your wall art looking great:
- Keep it away from direct sunlight to prevent fading.
- Dust lightly with a soft cloth to maintain cleanliness.
- Check for any loose stems and reattach if necessary.
Connecting with the DIY community
Crafting with pampas grass can open doors to connect with others who share similar interests. Join DIY groups or forums to exchange ideas and tips. Check out our DIY Projects section for further inspiration.
Conclusion
Creating pampas grass wall art is a fulfilling DIY project that enables you to bring nature indoors and personalize your space. With a little creativity and the right materials, you can craft a stunning piece that reflects your style. So gather your supplies and let your creativity flow!
Pros
- Beautiful and customizable decor.
- Easy to work with and arrange.
- Inexpensive materials.
- Environmentally friendly choice.
Cons
- Can be fragile if not handled properly.
- Dust accumulation may require maintenance.