Pampas Grass for Artistic Photo Styling
Are you ready to elevate your photography game with pampas grass? This versatile and natural element can transform your photoshoots, adding texture and elegance to your compositions. In this article, we’ll explore various tips on how to use pampas grass to create stunning visuals.
Key Takeaways
- Pampas grass adds texture and elegance to photos.
- It works well in a variety of settings, including indoor and outdoor.
- Color variations can enhance the aesthetic appeal.
- Pairing with the right decor style can elevate your visuals.
- Experimenting with arrangements leads to unique compositions.
Understanding Pampas Grass
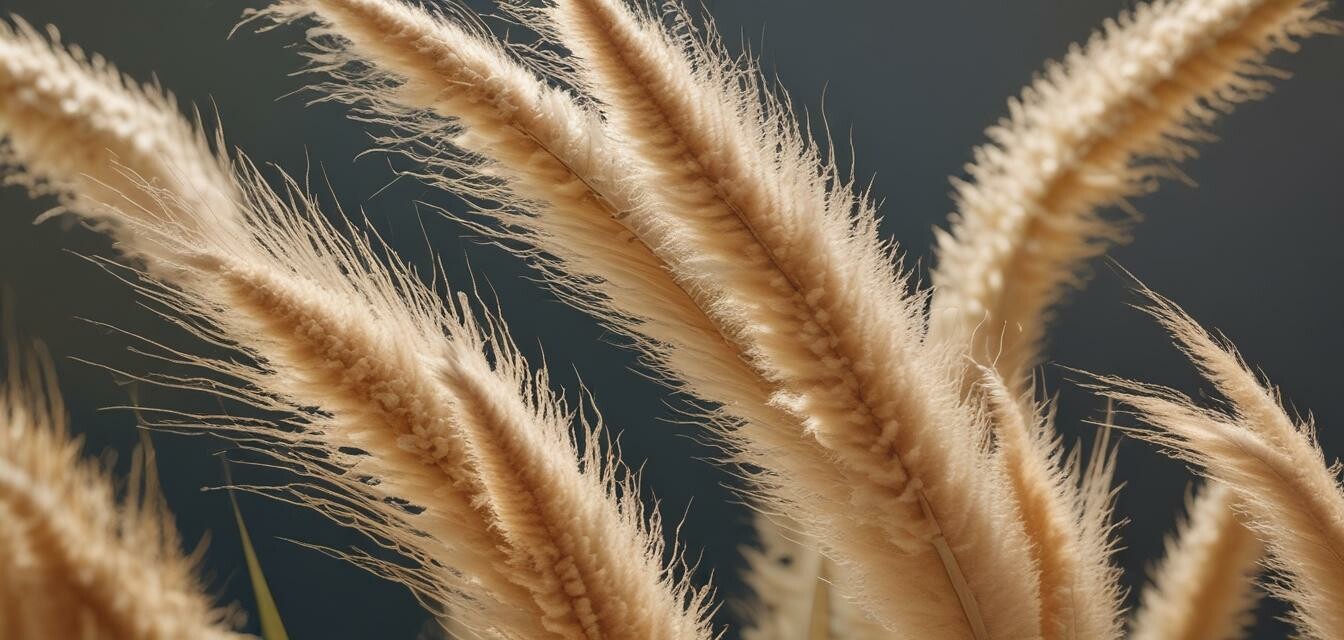
Pampas grass, known for its fluffy plumes and soft tones, is a perfect accessory for any photoshoot. Its striking appearance sets a mood, whether for rustic, boho, or modern aesthetics. Here is an overview:
| Attribute | Description |
|---|---|
| Texture | Soft, fluffy appearance that adds depth. |
| Color | Available in various shades, including natural beige, white, and colors through dyeing. |
| Durability | Long-lasting when dried, making it ideal for decor. |
How to Style Pampas Grass for Photoshoots
Creating artistic visuals with pampas grass requires a bit of creativity and experimentation. Here are some tips to get you started:
1. Choose your setting
Select a backdrop that complements the natural looks of pampas grass. Consider these options:
- Outdoor fields for a natural vibe
- Bohemian-inspired indoor settings with earthy tones
- Modern minimalistic spaces for striking contrasts
2. Experiment with colors
Consider using colored pampas grass to add a unique twist to your styling. Pairing different shades can create stunning visual contrasts.
3. Arrange creatively
Pampas grass can be arranged in various ways, such as:
- Standing tall in vases
- Floated in a shallow bowl
- Scattered on surfaces as a natural element
4. Positioning
For the best angles, position pampas grass at varying heights and distances from the camera. This creates depth and interest in your photos.
Lighting Techniques
Lighting plays a crucial role in how pampas grass is captured on camera. Here are some effective techniques:
- Natural daylight works wonders. Shoot in the early morning or late afternoon for softer light.
- Use reflectors to bounce light onto your pampas grass and highlight its qualities.
Incorporating Pampas Grass into Your Decor
Pampas grass not only looks fabulous in photos but also enhances your home decor. Here are some ideas for using pampas grass in your living space:
- Group in a large vase for a statement piece.
- Incorporate in wall arrangements along with other flowers.
- Utilize as part of centerpieces for dining or coffee tables.
Related Products
If you're interested in exploring more about pampas grass, check out our Pampas Grass Arrangements, which are perfect for any setup.
Final Thoughts
When used thoughtfully, pampas grass can enhance both your photos and home decor. Its unique textures and colors offer endless possibilities for creative expression. Don’t hesitate to play around with arrangements and styles; the results will astonish you!
Pros
- Versatile for various photography styles.
- Adds texture and depth to visual compositions.
- Durable and long-lasting when dried.
- Comes in a variety of colors to match decor.
Cons
- Can attract dust if not maintained.
- Fragile if mishandled during setup.
- May require additional decor to complement its features.
For more tips on using pampas grass, be sure to visit our DIY Projects section where we provide hands-on ideas to incorporate natural elements into your home.